Project Environment Setup
To Set up Development Environment for Angular 7, we require the following-
- IDE for writing your code (Editor)
- Nodejs
- Npm
- Angular CLI
IDE for writing your code (Editor)
There are many editors that can be used for Angular 7 development such
as Visual Studio code and WebStorm. In this tutorial,
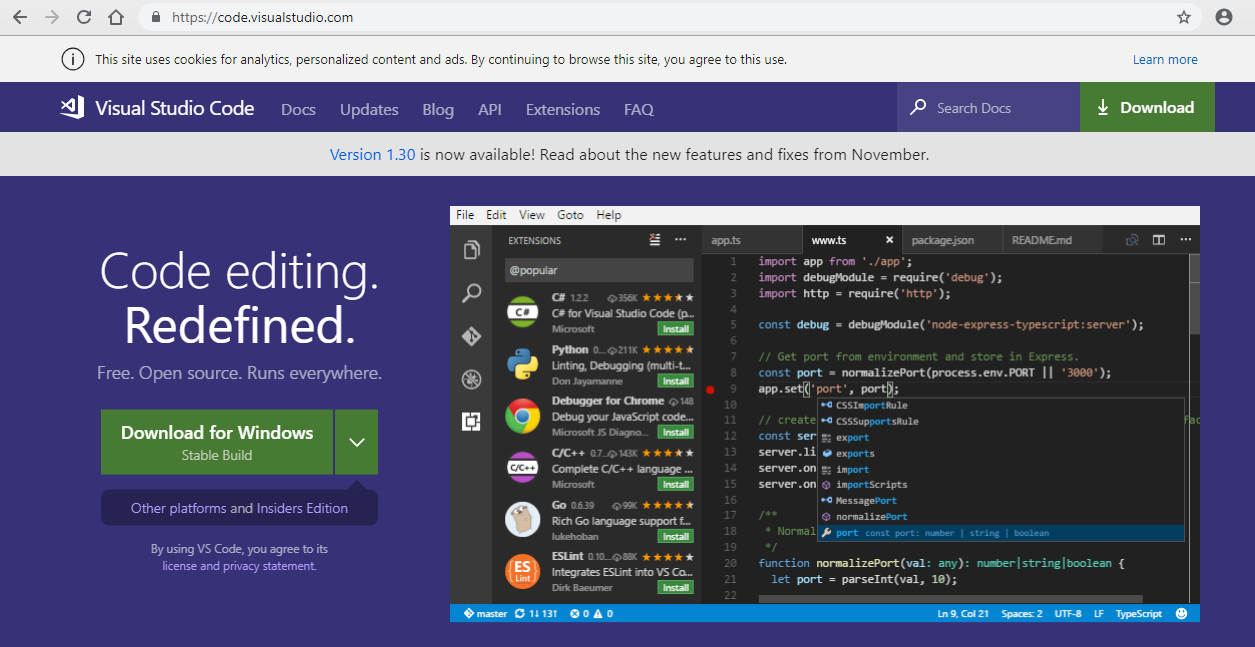
we will use the Visual Studio code, which is free form Microsoft.
Installation of Visual Studio Code
Some features of Visual Studio Code are following−
- Light editor as compared to the actual version of Visual Studio.
- It can be used for coding languages such as Clojure, Java, Objective-C, and many other languages.
- It supports built-in Git extension so that you can work with source control without leaving the editor.
- It includes built-in support for IntelliSense code completion, rich semantic code understanding and navigation, and code refactoring.
- It includes an interactive debugger, so you can step through source code, inspect variables, view call stacks, etc.
- Many more extensions for development.
Note: The link of official site for Visual Studio code is https://code.visualstudio.com/
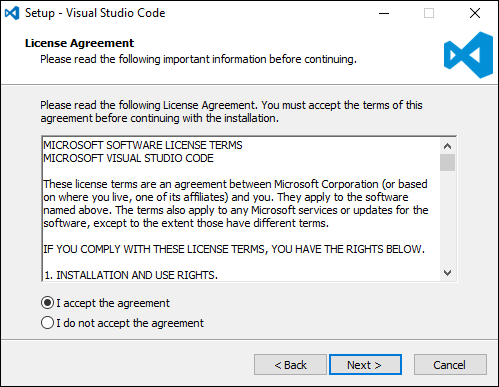
 Step 2 − On the next screen, accept the license agreement and click on the
Next button.
Step 2 − On the next screen, accept the license agreement and click on the
Next button.
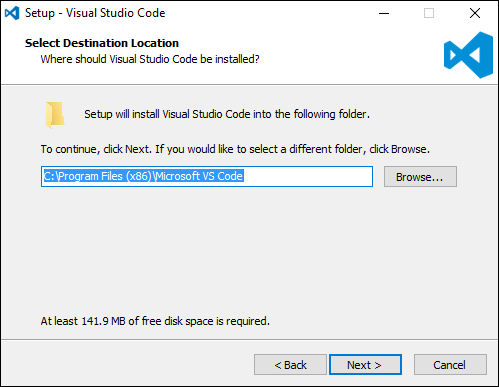
 Step 3 − On the next screen, choose the destination location for the installation
of Visual Studio Code and click on the next button.
Step 3 − On the next screen, choose the destination location for the installation
of Visual Studio Code and click on the next button.
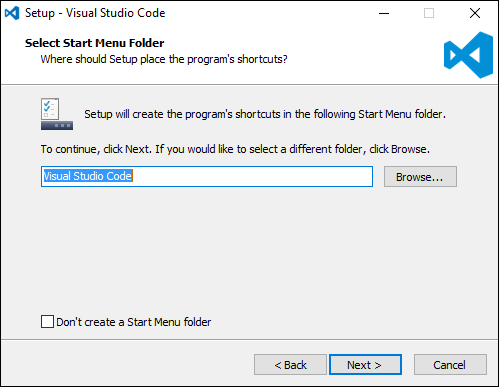
 Step 4 − Choose the name of the program's shortcut and click the Next button.
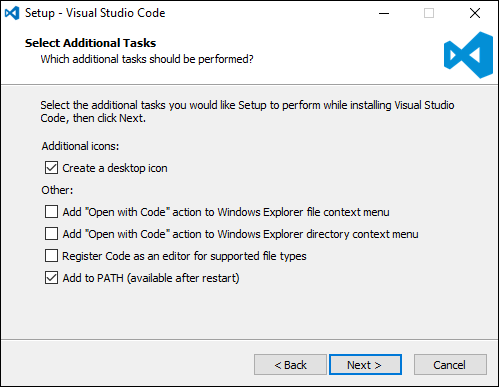
 Step 5 − Accept the given default settings and click on the Next button.
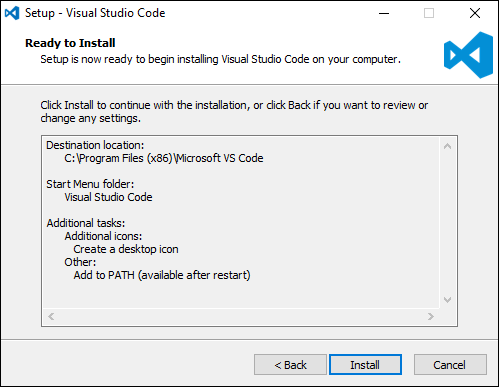
 Step 6 − Click on the Install button on the next screen.
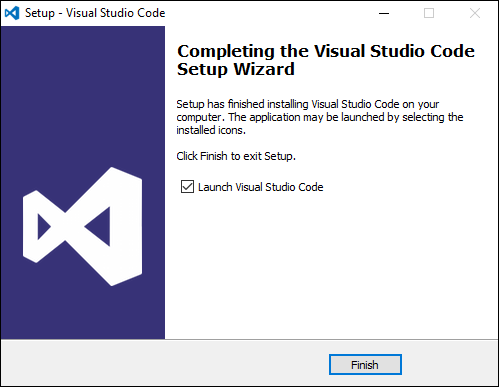
 Step 7 − And finally click on the Finish button to launch Visual Studio Code.
Nodejs
Angular v7 has Now support for Node v10 but v8 is also compatible.
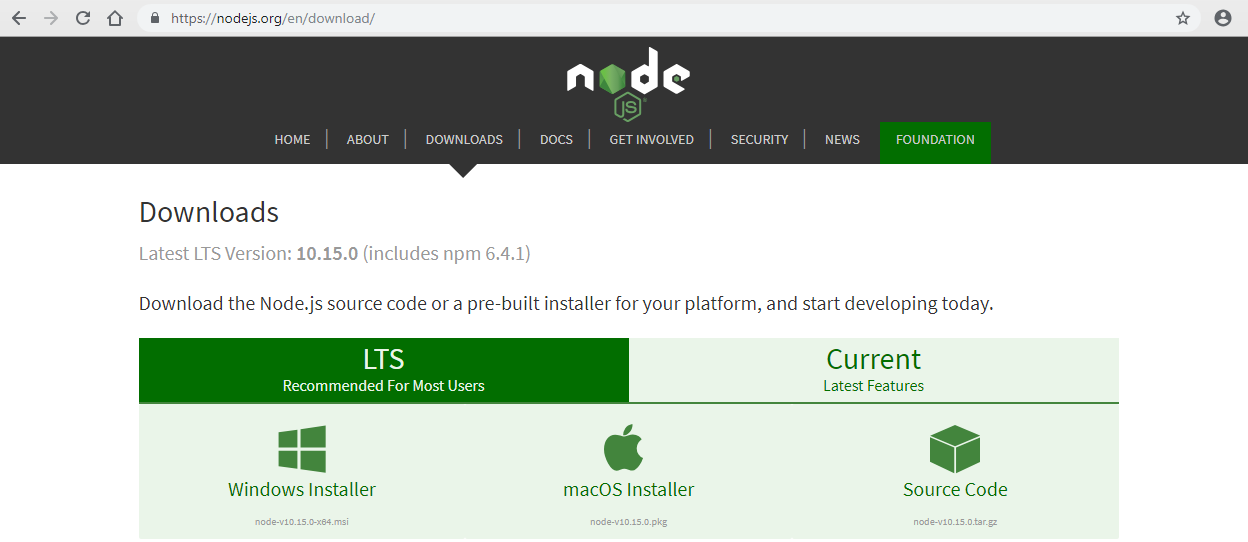
Download Nodejs from https://nodejs.org/en/download/ , and click on the windows installer. you can show here both the LTS and the current version of the node from where the you can download the recommended version or the current version.
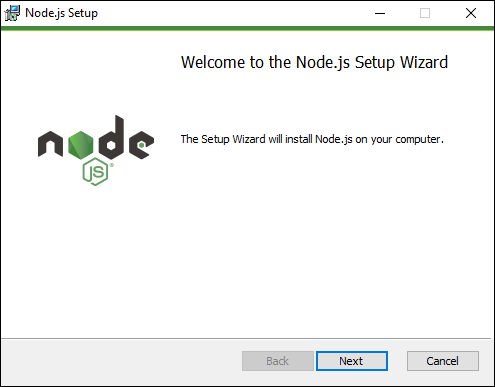
 Step 1 − Launch the installer and in the initial screen, click the Next button.
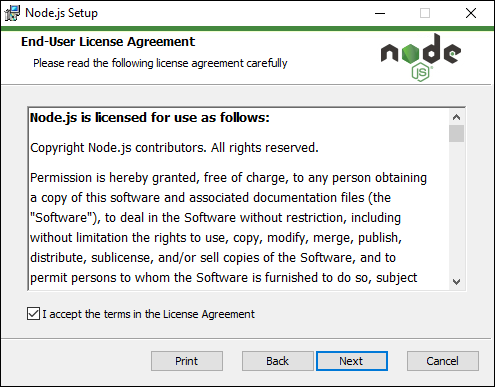
 Step 2 − In the next screen, accept the license agreement and click on the
next button.
Step 2 − In the next screen, accept the license agreement and click on the
next button.
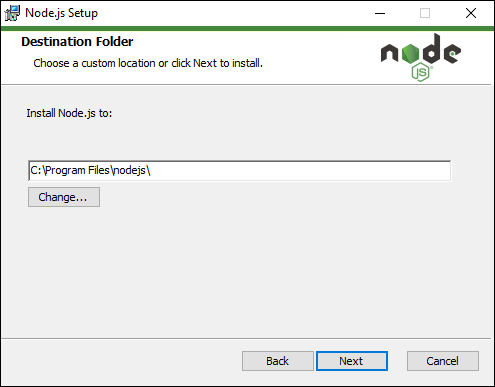
 Step 3 − In the next screen, choose the destination folder for the installation
and click on the Next button.
Step 3 − In the next screen, choose the destination folder for the installation
and click on the Next button.
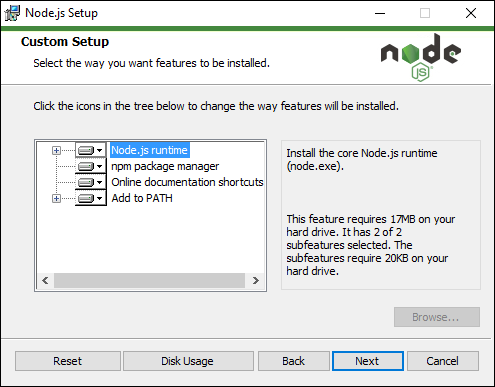
 Step 4 −Choose the components in the next screen and click the Next button.
For the default installation, you can accept all the components.
Step 4 −Choose the components in the next screen and click the Next button.
For the default installation, you can accept all the components.
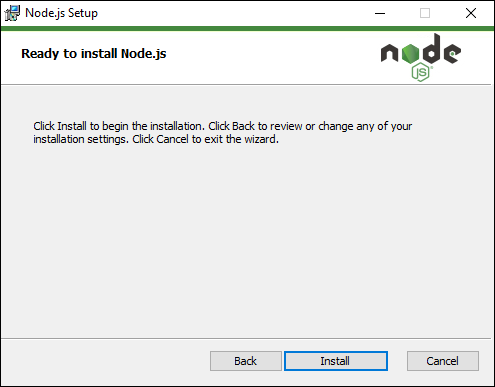
 Step 5 − In the next screen, click on the Install button.
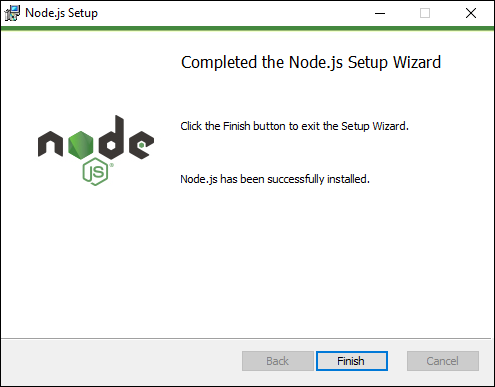
 Step 6 − Once the installation is complete, click on the finish button.
After installing the node, open the Visual Studio integral terminal and type node -v to verify the installed version of the node. This will help you to see the version of nodejs currently installed on your system.
Example
C:\>node -v
v8.11.3
Npm
Depending on your operating system, install the required package. Once nodejs
is installed, npm will also be installed, it is not necessary to install it separately.
Type npm -v in the terminal to verify if npm is installed or not. It
will display the version of the npm.
Example
C:\>npm -v
5.6.0
Angular CLI
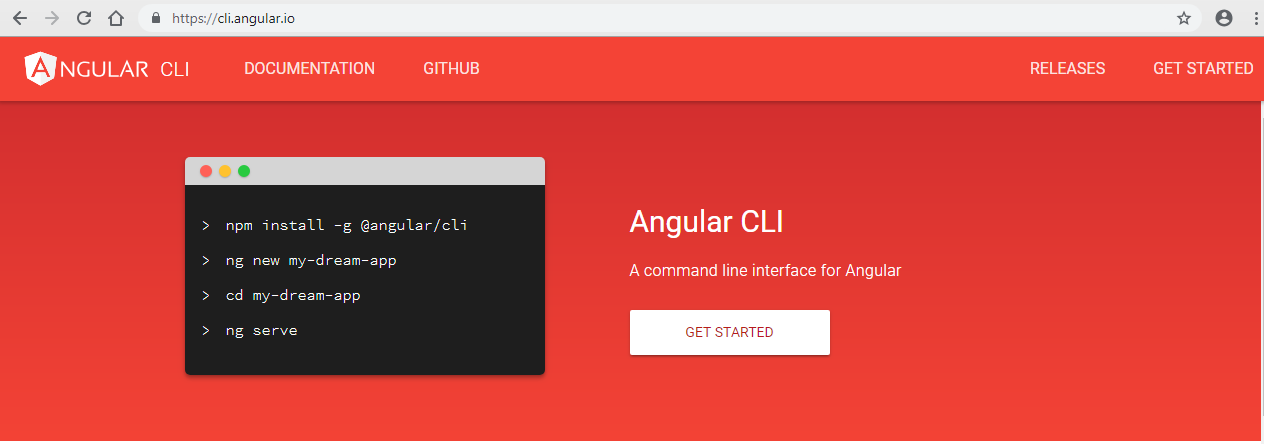 To install angular cli globally on your system type npm install -g @angular/cli.
It installs Angular CLI globally where g is referred to globally.
To install angular cli globally on your system type npm install -g @angular/cli.
It installs Angular CLI globally where g is referred to globally.
Example
npm install -g @angular/cli
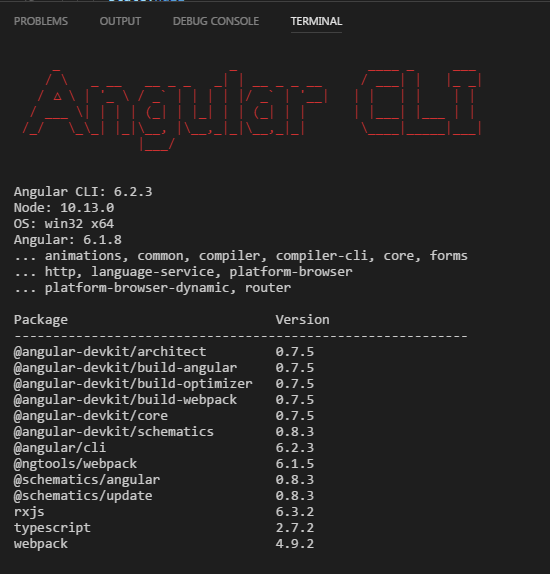
If you want to make sure you have correctly installed the angular CLI, open the
Visual Studio integrated terminal and type ng -v. If you can see the
cli version as shown below, then installation is complete.
Create Project
Create Project using below command
ng new sahosoft
It's going to present you with a couple of questions before beginning: the Angular CLI will prompt you with two options. The first option will ask you whether you want to add routing support or not.
? Would you like to generate a routing module? (y/N)y
Press "y" to create routing module and press Enter key.
While the second option will ask you which stylesheet format (CSS, SCSS, SASS etc.) you would like to use.
 ? Which stylesheet format would you like to use? CSS
  CSS
  SCSS   [ http://sass-lang.com   ]
  SASS   [ http://sass-lang.com   ]
  LESS   [ http://lesscss.org     ]
  Stylus [ http://stylus-lang.com ]
You can select any stylesheet format by press up-down arrow key. and press Enter key, then project will be created.
The project (sahosoft) is created successfully. It installs all the required packages necessary for our project to run in Angular 7.
Let us now switch to the project created, which is in the directory angular7app. Change the directory in the command line
cd sahosoft
Let's compile our project with the following command –
ng serve --open
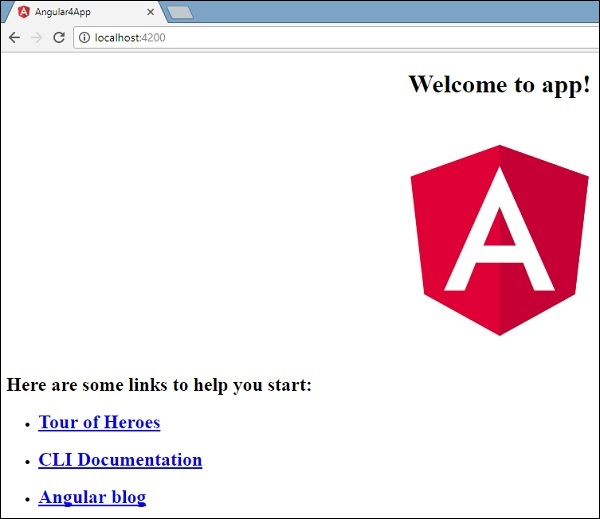
The ng serve command will build the application and starts the web
server.
The Web server starts at port 4200. Enter the URL http://localhost:4200/
in the browser and you will be directed to the following screen: